
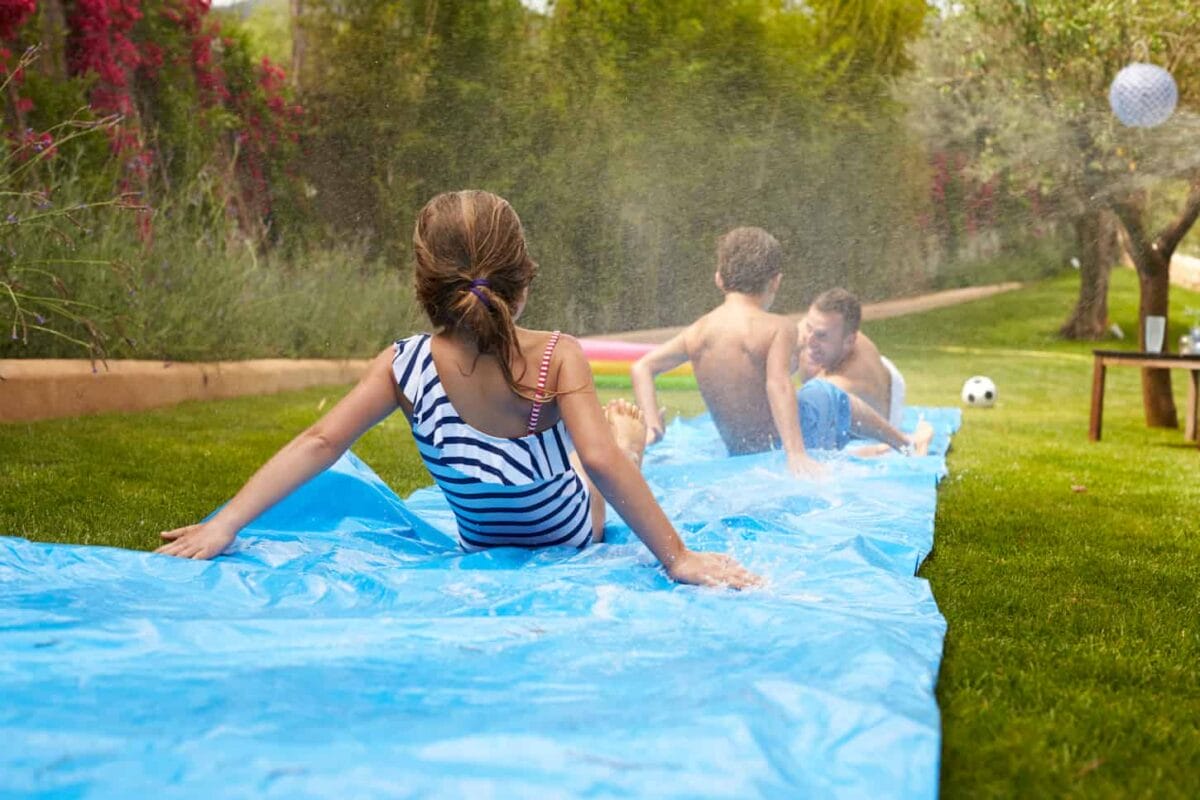
On a beautiful summer day, getting out into nature and having fun is a great idea. Playing sports is a great activity, but it can be so hot! Why not enjoy a kickball game but add water to keep everyone cool? So, how exactly do we combine kickball with slip-and-slide?
As long as there is an open space to play and a good water supply, we only need a few materials to assemble a DIY slip-and-slide kickball field. Layout the equipment, make it slick with soap and water, and start playing. It is easy to set up and should take no more than 5 minutes.
We’ve compiled a list of all the equipment needed to make a DIY slip-and-slide kickball field, along with some money-saving and safety tips. Find an easy-to-follow guide on setting up a wet and wild kickball field with some bonus ideas on having even more fun with pools. Keep reading for all this and more.

What You Need To Make A DIY Slip And Slide Kickball Field
People can buy slip-and-slides, but they might all sell out in the summer heat. Plus, why waste money when we can assemble our own with affordable materials and items from around the house? Here is a list of all the items needed to make our own slip-and-slide kickball field.
Here is the basic list of things you’ll need.
- The kickball – We need a good ball for the game. If you don’t care about regulation sizing, get whatever. If you want the “right” size ball, read this article we wrote: What Size Kickball Should You Get And Use? Don’t have a kickball? You can use a soccer ball but don’t pitch it hard, or people’s feet will hurt.
- Baselines – We can use a drop cloth, tarp, or water-resistant covering to run and slide on for a baseline. Please ensure the material is thick enough that it won’t tear or rip, ideally 6mm wide or more. Ask friends and family if they have any material to use, and if not, you can always pick up something inexpensive from the local big box or hardware store.
- Baseline support – Cardboard and carpet are great for placing underneath the baseline. There might be some spare carpet from an old home renovation, or ask at large stores if they have any cardboard packaging they are throwing out. This saves money and reduces waste.
- Baseline immobilization – We’ll need to hold the baseline in place. You can use tent pegs or plastic shutter fasteners, often found around the garage, though they can become an injury hazard. For safer immobilization, balloons or plastic zip-lock bags can be filled with sand or dirt to weigh down the baselines.
- Lots of water – Slip ‘n slide kickball depends on water, so ensure you have plenty on hand. Ideally, have a hose hooked up to a spigot.
- Lubricant – We’ll need something to make the baselines extra slippery; laundry detergent, dish soap, or body soap are all great options available around the house or affordable. Pick a safe product for the environment and the players, as some can irritate the eyes and skin.
- Spray Chalk – Use some spray chalk to draw markings for the kickball field. It’s used for sporting events, easily available, and safe for humans and the environment. If we don’t use all of it during the game, kids can use it to create pictures on the drive that will easily wash away.
- The rules (so everyone knows what they are) – Having a copy of the rules is also a good idea if playing with people who haven’t played before or are out of practice. It’s always good to go over the rules. Need to add some fun to the game? We can invent some fun new rules as long as they’re advertised and agreed upon by all players before the game begins. We’ll cover the basic rules within this article.
Now let’s get into some other aspects of slip ‘n slide kickball so you’ll be ready for the game.
How to Set Up a DIY Slip and Slide Kickball Field
The completed setup of your game should look like a diamond. You should have a base (or a pool) at each corner, and the drop cloths should be connecting them all together. It’s also important to leave some space at the side of the pool at the home base; this gives space for ball-kicking.
If you don’t want to buy four pools, you can just use one and keep it at the home base. This works fine, but playing with four pools is more fun. Keeping the hose flowing with water is essential for the best experience, but you can turn it off every now and then if you don’t want to use too much water.
Now, let’s look at the step-by-step guide to setting up slip-and-slide kickball.
Find a suitable location
Finding an appropriate space is one of the most important steps in making a DIY slip-and-slide kickball field. Ideally, we want a large, grassy area that is clean, flat, and has a water source. Don’t set up a game of slip ‘n slide kickball over a hard surface like concrete. This would likely cause injuries.
If there is a large garden, it will be perfect. A leisure space outside a church or community center will also work, but ask permission first.
Mark your baselines
Lay them out using the drop cloth, tarp, or any material chosen to create the baselines. They should make a diamond shape. If there is room, we want the distance to be around 20 paces between each base.
If the space is a bit smaller or you want to make the field bigger, this is fine, but make sure the distance between bases is always even.
Don’t stabilize the baselines just yet – trust me! We’ll get to that step soon enough.
Reinforce under the baselines
Use cardboard or old carpet underneath the baselines. This will not only make the baselines safe and sturdy, but it will also allow players to slide better as they reach the baseline.
If there aren’t a lot of supplies for this, then focus on putting the material close to the baseline in the direction the players are running. This will allow players to slide better.
Stabilize the baselines
This is an important step in ensuring the field baselines stay in place. We can use anything to pin or weigh the baselines into the ground and keep them there. Space out the pins or weights evenly along both sides of the baseline.
When using pegs or fasteners, make sure these are flush with the ground so there is no risk of players accidentally kicking them. This is especially true if everyone is playing barefoot (so as not to damage the slip-and-slide part of the kickball game).
Make the baselines slippery
Using the lubricant of choice, start generously pouring it over the baselines. Then pour water onto the baselines and, using bare feet, mix them together by shuffling along the course.
Don’t over-saturate the baseline when setting up, as we can always add more water later, and be careful when mixing, as we might find ourselves slipping and sliding off the field.
Pro tip: some hoses have an attachable spray mixer; if you’re using a small amount of dish soap as your lubricant, you can add a small amount to the spray mixer and use that to wet down the slip ‘n slide field. That’s how we do it, and it works great.
Just be warned that it makes for a very soapy, slippery kickball game! I’d say nobody goes home dirty, but that’s not true. Everyone still gets filthy.
Mark your kickball field
Spray chalk on the ground with all the important markings for kickball. Draw the pitching circle in the center of the diamond, the bases at each point, and the foul lines. There are plenty of diagrams online if you are unsure of the placement of these marks.
I recommend marking the chalk lines well outside the spray zone. Otherwise, you’ll wash the chalk away.
Slip test
Testing it out is one of the funniest steps in making a DIY slip-and-slide kickball field! Try running and sliding around the field to ensure it is slippery enough for players to slide into the bases; if not, add more soap (or other safe lubricant).
This isn’t a mandatory step for making a slip-and-slide kickball field or even playing the game, but getting some prizes for the winners together is a great idea. This can be sweets, some drinks, or even a homemade trophy the winning team can keep until the next time.
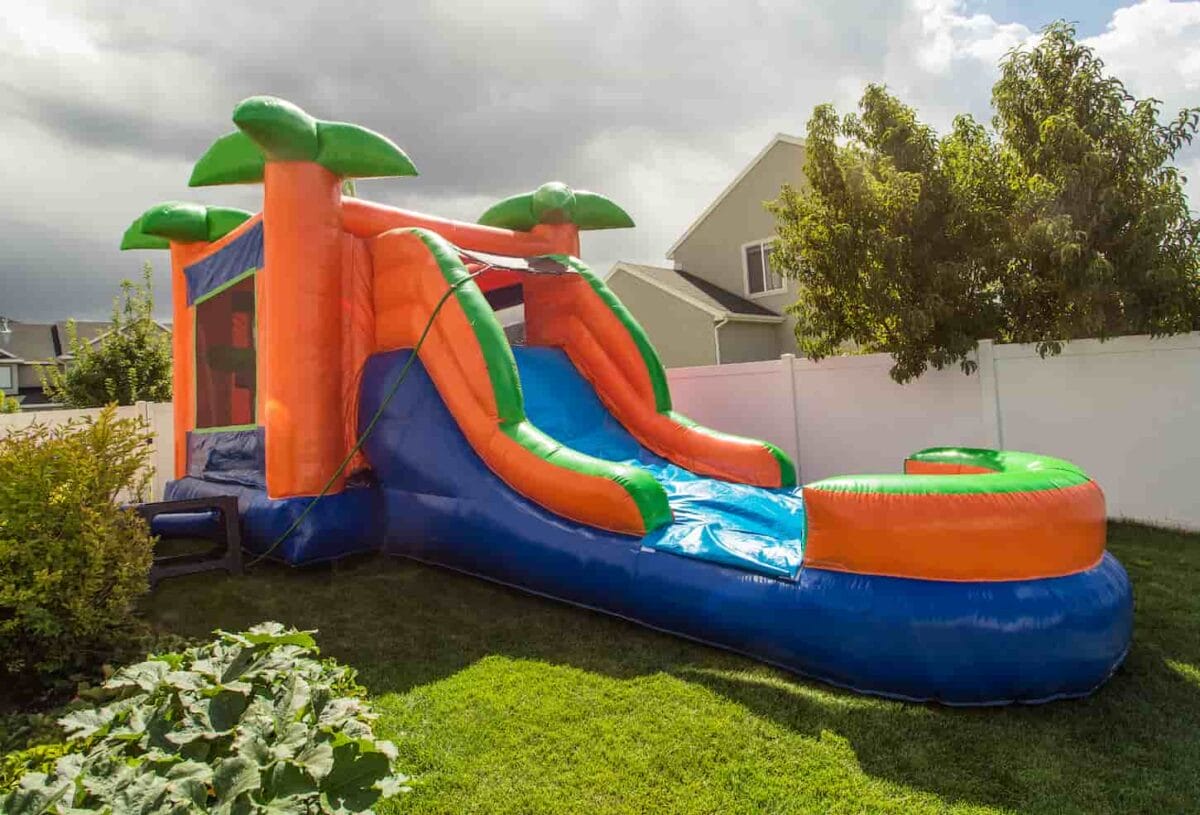
How To Make A Kickball Slip And Slide With Pools
Place one pool on each base at the corner of the diamond to include pools in a kickball game. Fill the pools with water so people can leap into them when they reach the base. If there is a larger rectangle pool, this can be used for the final base so players can dive in when they score a run.
People looking to add more fun to their slip-and-slide kickball field should consider using small, inflatable pools for the bases. These are very cost-efficient to purchase, and between them and the players, four pools may be sitting around at home. You may have bought several and forgotten about them as we did!
Be sure to fill your pools enough so they don’t move when a player jumps into one, and keep topping them up during the game, as water will splash out while you play.
Slip and Slide Kickball Rules
Slip-and-slide kickball uses standard rules, but it makes a few changes. For example, players typically wear swim gear and go barefoot or wear boat shoes (water shoes) rather than athletic clothing and sneakers.
Team size and game length
A typical slip-and-slide kickball game lasts six innings, but if there’s a tie, the teams must play until there is a winner.
Just like regular kickball, there are two teams in a slip-and-slide game. You may need to make changes to players’ ages, skill levels, and how much water is in the field.
We’ll cover the basic rules of kickball here, though if you want the full rules, make sure you read our article on them here: Kickball Guide: How to Play, Rules, and FAQs.
Pitching and kicking rules
The pitcher needs to remain within the pitcher’s circle. They can only leave after the ball has been hit. Additionally, when the ball is crossing it should roll rather than bounce. The ball must be kicked, and it’s best to avoid using your hands or arms. Only feet and legs can be used to kick the ball.
Strikes and foul balls
In slip-and-slide kickball, a strike is when a kick of the ball is missed. If you miss a kick three times, you’re out of the game. A foul ball occurs when a ball goes out of bounds, and after three fouls, a player is out.
Additionally, a kicker is out straight away if another player catches the ball before it touches the ground, no matter where it is.
Water bases
The only difference between regular kickball and slip-and-slide kickball is the slippiness. In slip-and-slide kickball, players must run along the drop cloths to reach the next base. If, however, this proves to be too strenuous and slippery, players can run beside the drop cloth and just jump on at the base (the inflatable pool).
Slip ‘n Slide Kickball FAQs
This article is dedicated to helping you understand and have the right information. Next up, let’s answer some FAQs. If we haven’t answered your question yet, we hope to do so here! Please let us know if we miss your question on our contact us page. We’ll do our best to respond directly to your emailed question – and update this article so that other readers get their answers, too.
How long does setting up a Slip and Slide Kickball game take?
Setting up a game of slip-and-slide kickball may take one person 30 to 60 minutes, depending on the complexity and size of the field. Setting the game up can go faster with more people helping.
It may seem obvious, but having enough space for the drop cloths and pools is important. Once you have all the required equipment, it should take 30 minutes to an hour to set it up.
Another important note: it’s good to have more than one person helping when setting up the game. The more people who can help, the quicker you can start playing! However, having 6 family members set it up can also take longer. Too many chefs in the kitchen and all that.
What is the best way to make a Kickball Slip and Slide wlippery?
The best way to make a slip-and-slide slippery is with soap and water. You can use oil, but it’s not always the best option.
Soap makes the surface slippery, but not to the point where it’s dangerous. When it’s mixed with water, the level of slippiness is perfect. Not to mention soap always smells good, so that’s a bonus!
Don’t use too much soap, as too much soap could damage the grass or field where you’re playing. Use just enough to slip things up but not soo much that everyone can’t stay upright.
What kind of oil do you use for a Slip and Slide?
Slips and slides can be made more slippery with things like baby oil, vegetable oil, dish soap, and laundry detergent.
If I had to use oil for a slip-and-slide, I’d use the tiniest amount of baby oil possible. This is because it’s less likely to attract pests and rodents to the area after the game than edible oils (like vegetable and olive oil) are.
And then I’d switch to dish soap as soon as possible during the game so that the field (including the slip and slide sets) gets cleaned up without leaving tons of baby oil all over the field.
It’s important to note that soap is the safest option because it leads to fewer injuries. Safety should always be an important consideration, especially with kids involved, so using soap is recommended. Any laundry detergent or dish soap works well for a slip-and-slide.
Another important note is to be aware of where you’re playing. Oil or soap will damage some playing surfaces or fields more, so use what’s most appropriate. Also, if you’re playing in a park or an HOA-managed area, ensure you’re following any rules applicable to that park.
Why isn’t my Slip and Slide Kickball game slippery enough?
There are a few reasons why your slip and slide might not be slippery. Firstly, you may not be using enough water. Having enough water to mix with the soap is essential. Otherwise, it won’t be the right consistency.
It’s good to pour more water over the plastic sliding areas (whether a slip-and-slide set or the plastic tarps) occasionally; otherwise, it might dry up.
Another reason it might not be slippery is if you’re not using enough soap. It’s best to start small with the soap, though you may need more. Because while water alone can make it a little slippery, you also need some soap!
Just remember that a little bit of super-concentrated soap goes a long way. If you’ve got more bubbles than the ability to see players, then you’ve probably got too much soap! Additionally, you want to ensure you’re using the appropriate tarp or drop cloth.
- Plastic is best because it doesn’t absorb water.
- Materials such as cotton and linen will absorb water and won’t be slippery no matter how much soap (or water) you add.
So be sure you have the right materials.
It could also be a combination of insufficient water and soap. So, make sure you’re using the right amounts of each!
How do you maintain the pitch and field during the game?
Some maintenance is required when playing slip-and-slide kickball, but it’s nothing too much. One important thing to check occasionally is the tarp stakes. Sometimes, the stakes might move up from the ground.
The stakes becoming dislodged could cause injuries:
- Defensive players could get foot injuries from runners when running to defend a base.
- Players running to bases could get injured if they go off course while sliding.
So be sure to check the stakes regularly.
Making sure the pitch is wet enough is another requirement. Players naturally move the water around during the game and splash it everywhere. If there is some water loss, the game won’t be as fun and slippery.
Keep checking the water levels in the pools and across the drop cloths. If you add more water to the drop cloths, you may also want more soap to balance it out.
Too much water, though, and you end up playing in a totally muddy field where sliding becomes impossible or just impossibly dirty. So finding the right balance may take work, time, and practice.
Key Takeaways and Next Steps
Now that you’ve set up your slip-and-slide kickball game and learned all the rules, you can enjoy playing! The finished product should consist of four drop cloths connecting four pools, and everything should be super wet, soapy to your preferred level, and slippery.
Even when store supplies are low, it’s surprising how easy it is to make a DIY slip-and-slide kickball field. Join with the neighbors or community, and everyone can set up a game before you know it.
Use the material you have to enjoy a soaking wet day of fun and benefit from some exercise. We’ll all be beaming with joy knowing we put it together ourselves.
Resources
Learning from your own experiences is important, but learning from others is also smart. These are the sources used in this article and our research to be more informed as a family of sports nuts wannabes.
- “Baker University Intramural Kickball Rules.” Baker University, www.bakeru.edu/images/pdf/BL_undergrad/Intramurals/Kickball_Rules.pdf.
- NothingTo DoCrew. (2015, September 23). How to build and play SLip and slide kickball! DIY. YouTube. https://www.youtube.com/watch?v=ZmvOYKFqlzs